
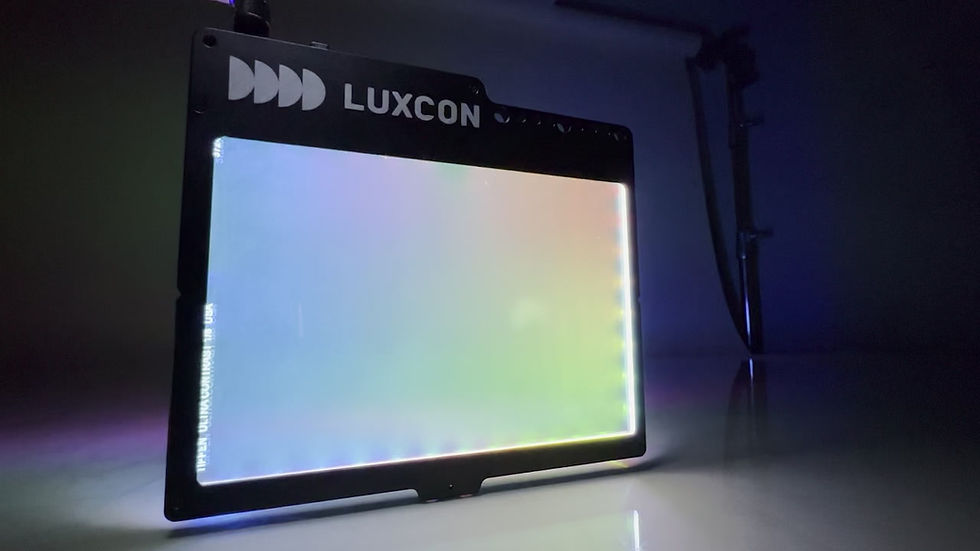
Connecting to the LuxCon Pro
-
Supply power using the straight Lemo or DMX splitter cable and hold the power button for a moment to power on the unit.
-
The Bluetooth (currently Android only) can be used to connect with the device over BLE.
-
Use the 3 x on-unit buttons to navigate left and right through the menus. To set a specific connection mode, enter the OP Mode menu and select DMX or Wifi. Otherwise keep it in Auto for easy use or to connect multiple control devices.
-
For DMX control, use your DMX software of choice with the Lemo + DMX splitter cable. The GDTF file supplied in the drive linked in the button marked "LuxCon Pro Files" on this page can be imported by the software to define the device configuration. If there are any issues, a human-readable chart for defining the device is available in the markdown (.MD) file. We've additionally validated DMX control of the unit using QLC+ with the .QXF config file.
-
For Wifi control, set the OP Mode to Auto or Wifi using the on-unit buttons. It will create its own Wifi that the user can select and connect to. The Wifi name is Luxcon-Pro, and the password is luxconpro. Connecting will automatically open a web browser that you can use to control the device. If connecting from a phone or tablet, navegating away from the WiFi app will require you to re connect to the LuxCon Pro WiFi network to get back into the auto launching app.
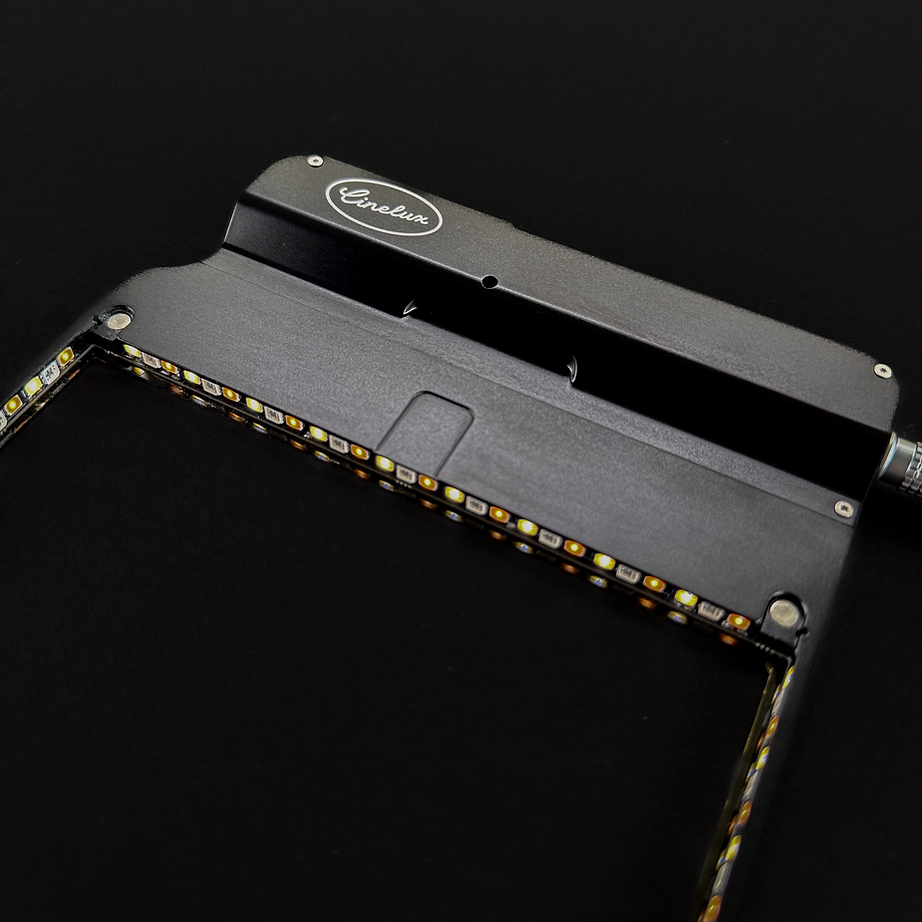
Five Ways to Control. One Seamless Workflow.
Five integrated control methods. Driven by The Highest Quality Components. Built to slot into any modern set.
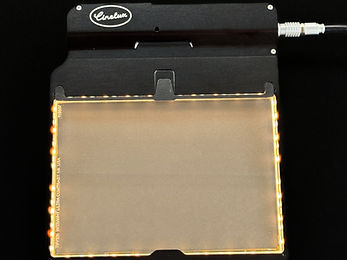
Specs
• DMX wireless interface (proprietary cable optional)
• IP interface through LuxCon Control web app
• Bluetooth control via iOS and Android app
• CRI 95 LED
• RGBWW — RGB, Cool White, and Warm White
• Output at 7A: 1,356 lumens; 37,000 nits (no filter) / 31,500 nits (with filter)
• Max amp draw: 7A at 12V (standard)
• Max theoretical amp draw: 30A up to 26V
• Single-stage Arri standard tray size
• 2B 5-pin Lemo connection